Getting started
The Serial Port is a simple way to get feedback on your project. This is very useful when checking your program works as you intended. Whilst this would typically be used for large projects, we are going to start of by using the same circuit as in the last tutorial.
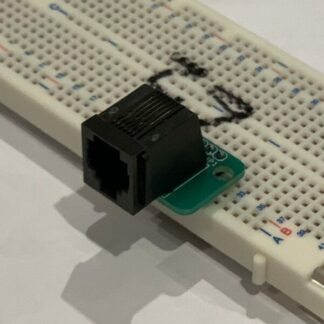
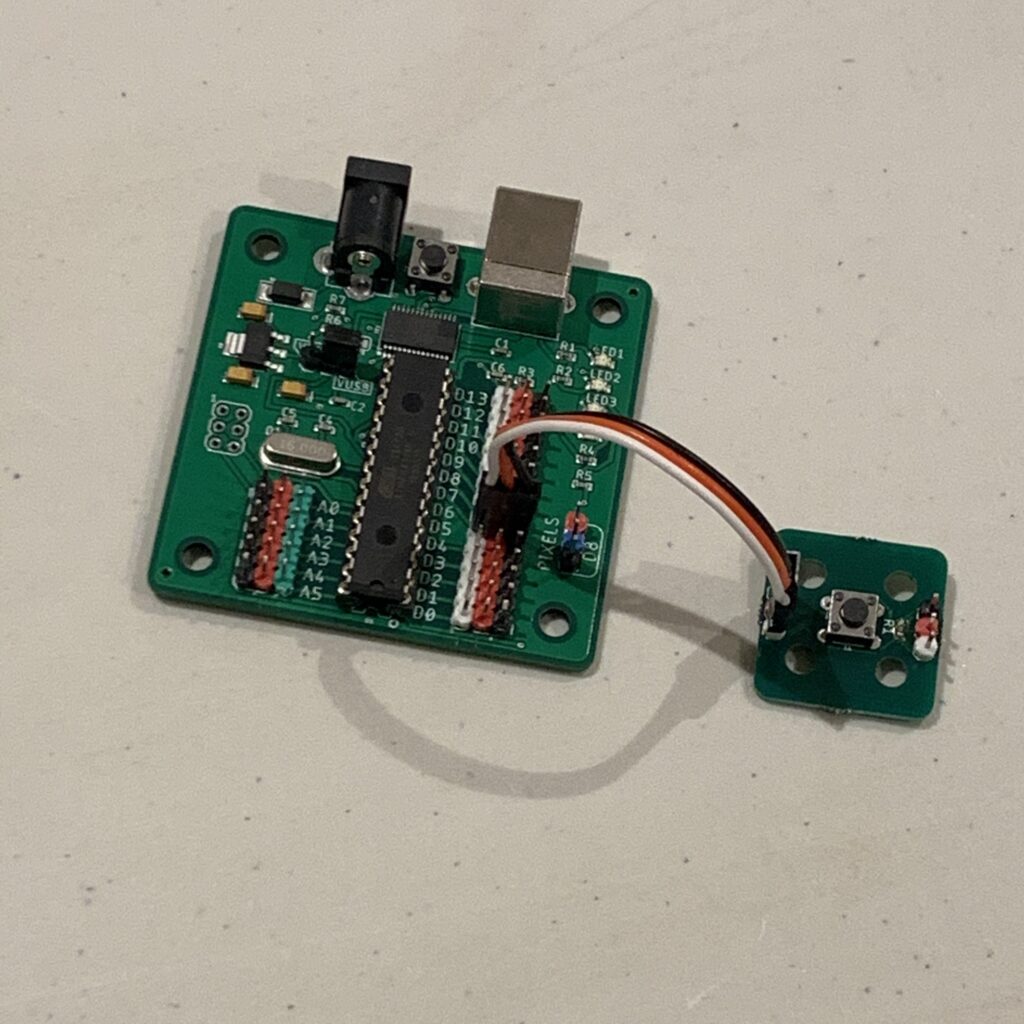
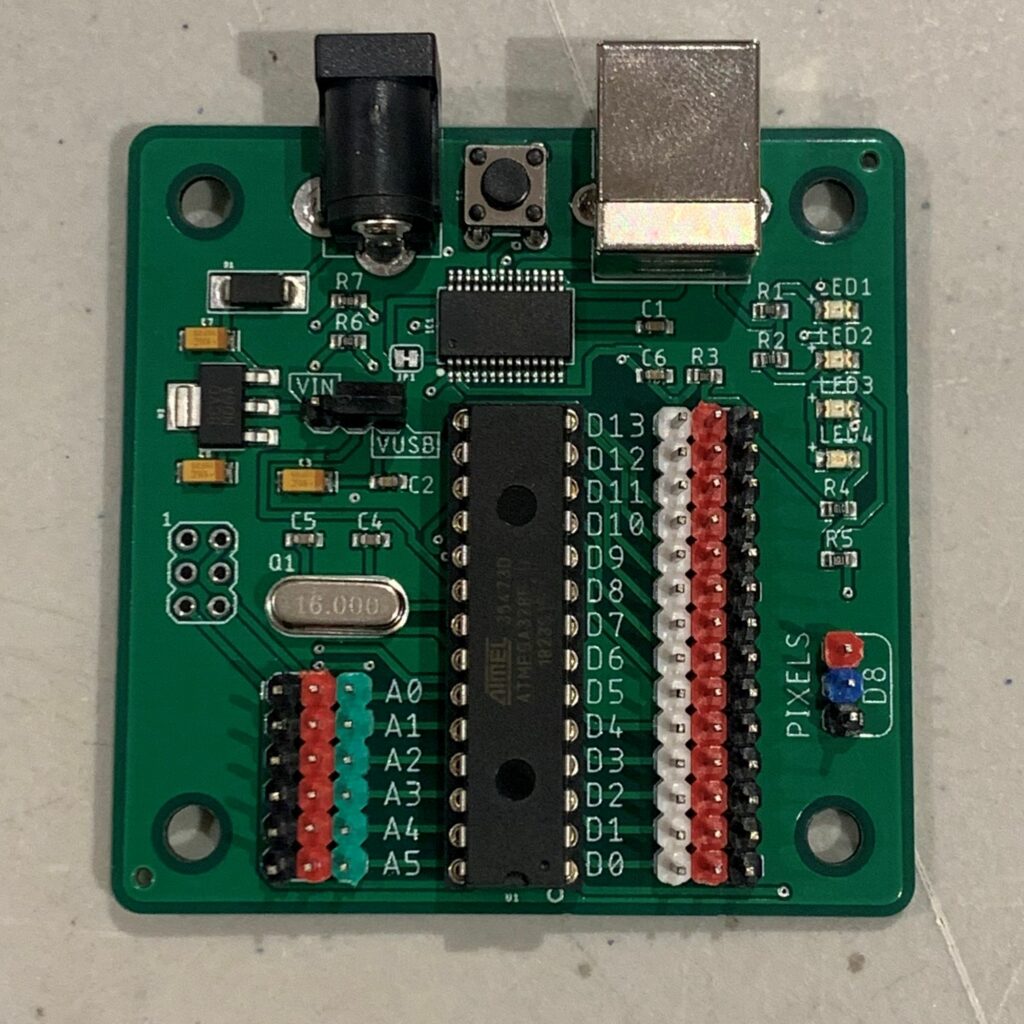
Using a digital cable (the one that is black, red, white), connect the Tactile Module to port D5. Make sure you match all the colours on the cable and the connections properly.
Programming
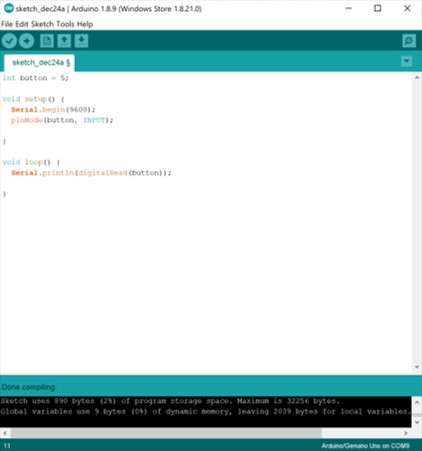
Copy the code in the image. Remember to copy it exactly as shown, as the Arduino Programming language is case-sensitive.
You will probably notice a few things that are similar to the last program. Firstly, we declare ‘button’ as the value ‘5’, and set that as an output.
We will then start the Serial Port with the ‘Serial.begin()’ function, and need to set a baud-rate, which will be ‘9600’. In the ‘Loop()’ function, we are printing the value of the button to the serial console.
Upload the code to your DenScript Uno, using the same methods to set the correct COM port as before. Once uploaded, go to Tools > Serial Monitor and watch the numbers come in! Press the button to see the value change.
Troubleshooting
If you are unable to upload your program, make sure the DenScript Uno has its power select jumper set to ‘VUSB’. If this is correct LED3 will be lit.
If there are issues selecting the DenScript Uno as the Serial Port in the Arduino IDE, it may be because your computer will need time to detect the DenScript Uno and set it up for first use.
All DenScript products have been tested before being shipped and any defunct units would be withheld. Therefore, we can not take responsibility if you break your unit.
Next Tutorial >>