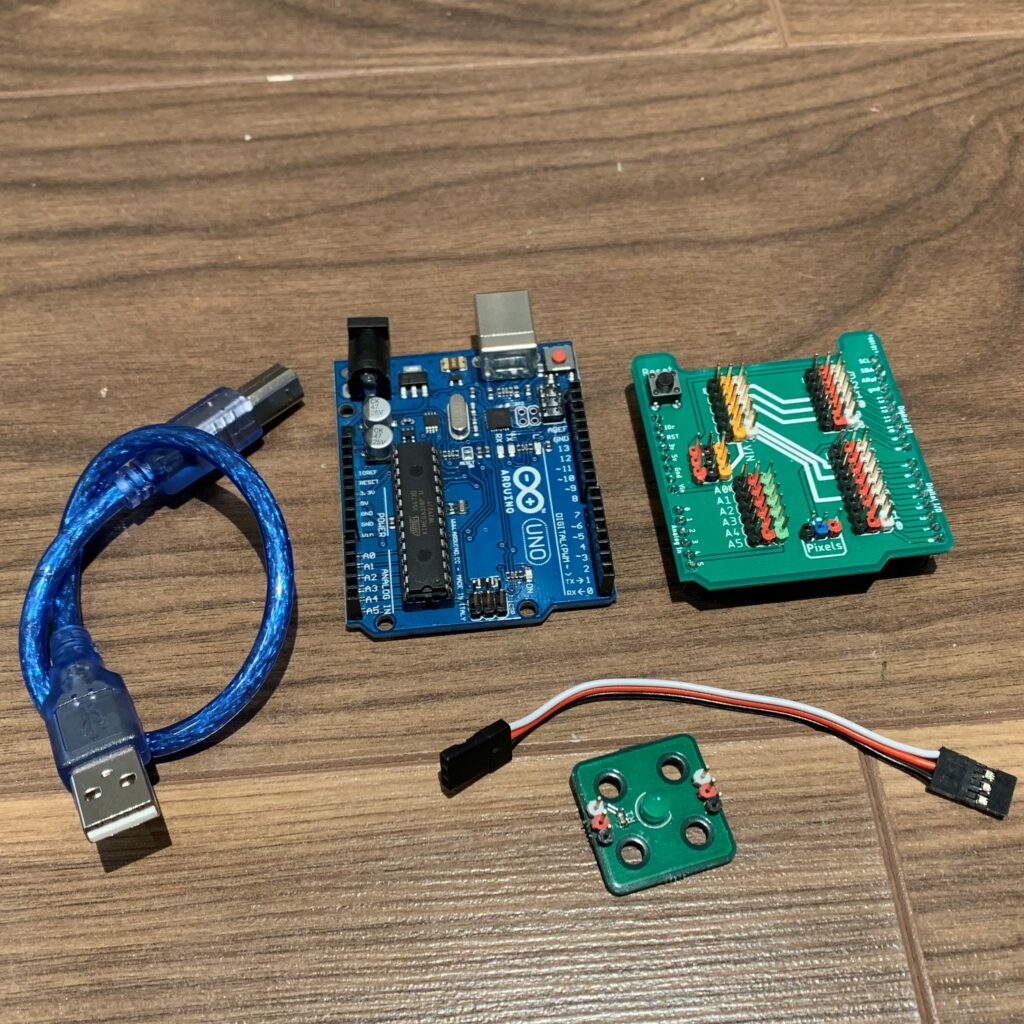
What do you need?
- DenScript Arduino Uno Shield
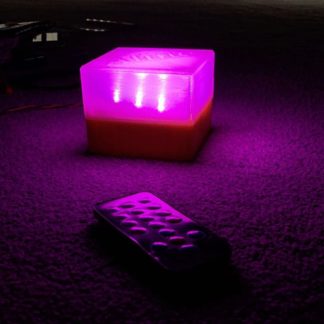
- DenScript LED Module
- DenScript Digital Wire
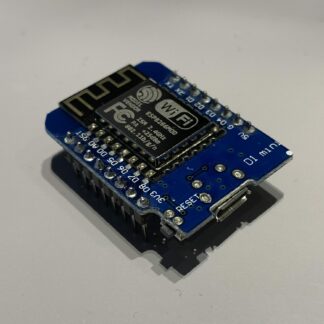
- Arduino Uno or other Arduino Board
- USB Cable (varies depending on the Arduino Board)
- Arduino IDE
Wiring:
- Connect the DenScript Arduino Uno Shield onto the Arduino Uno or other Arduino Board.
- Connect one end of the DenScript Digital Wire to the DenScript LED, ensuring the colours are matched correctly.
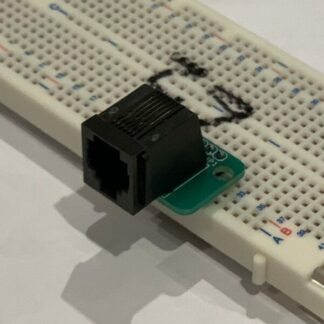
- Connect the other end of the DenScript Digital Wire to the DenScript Arduino Uno Shield, at Pin 13. Ensure the colours are matched correctly.
- Connect the Arduino board to your computer via the USB cable.
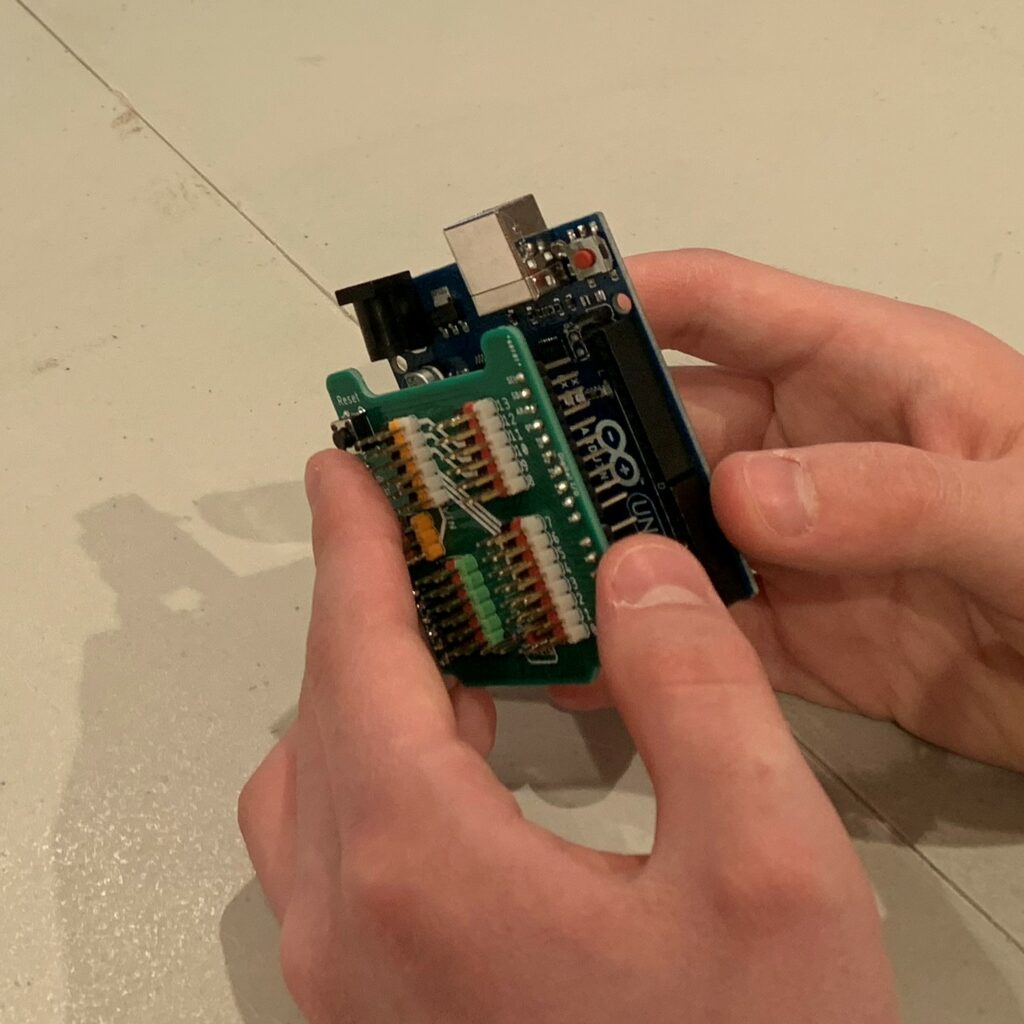
Match up the DenScript Arduino Uno Shield with the Arduino 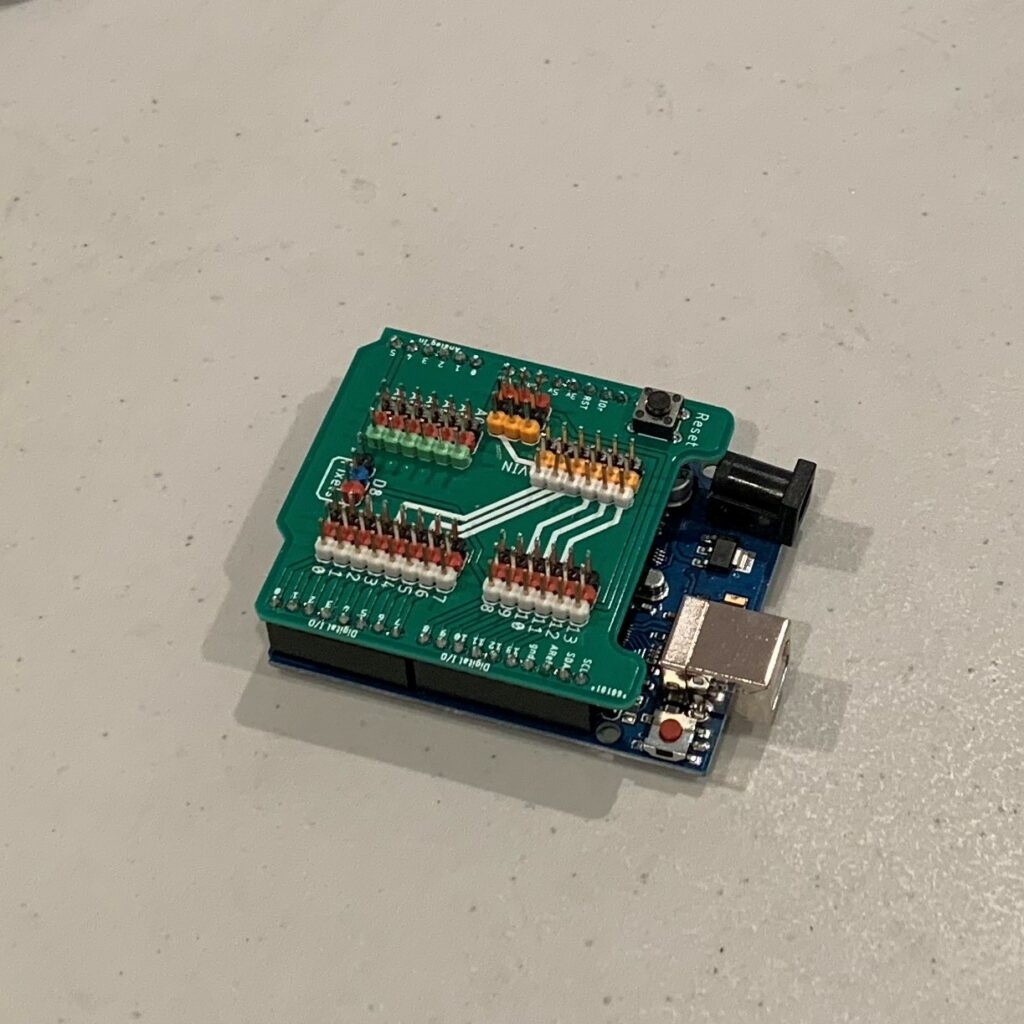
The Arduino Uno with the DenScript Arduino Uno Shield 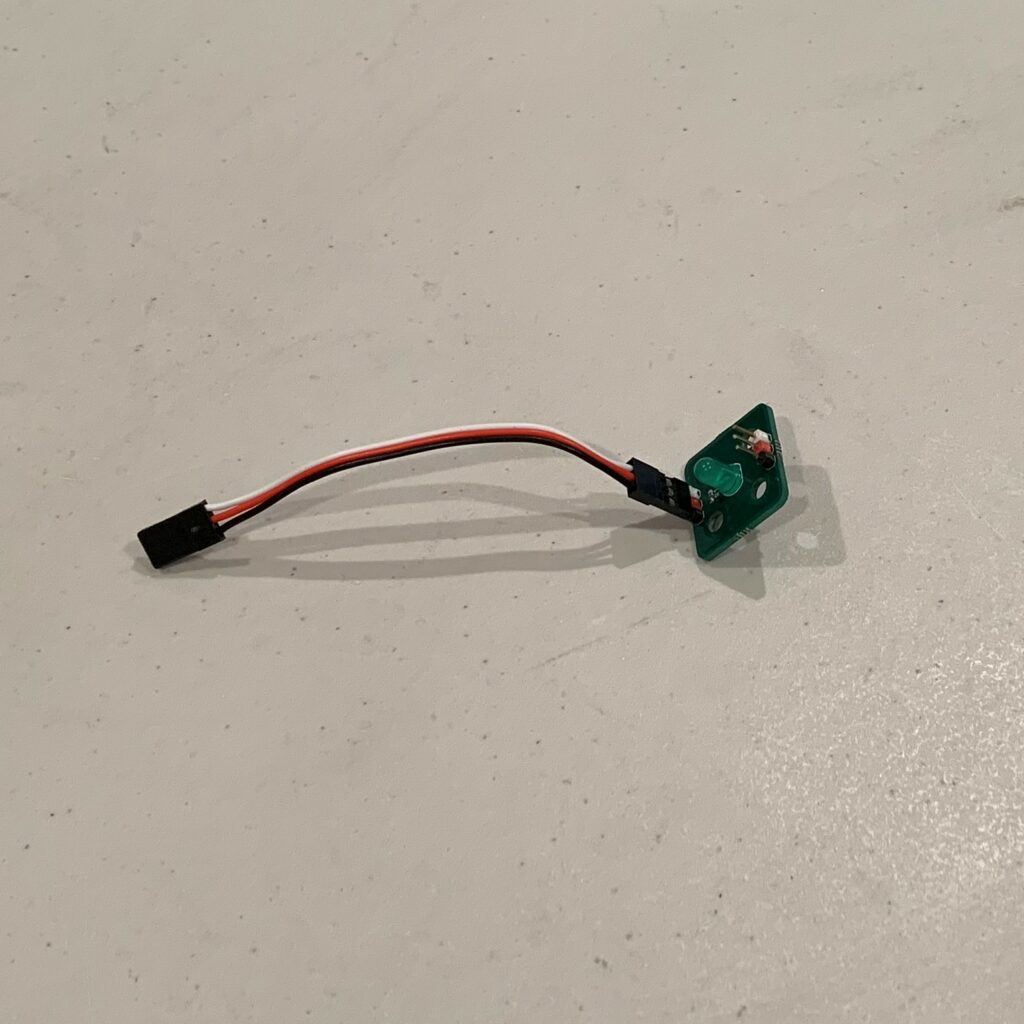
DenScript Led Module with the DenScript Digital Wire 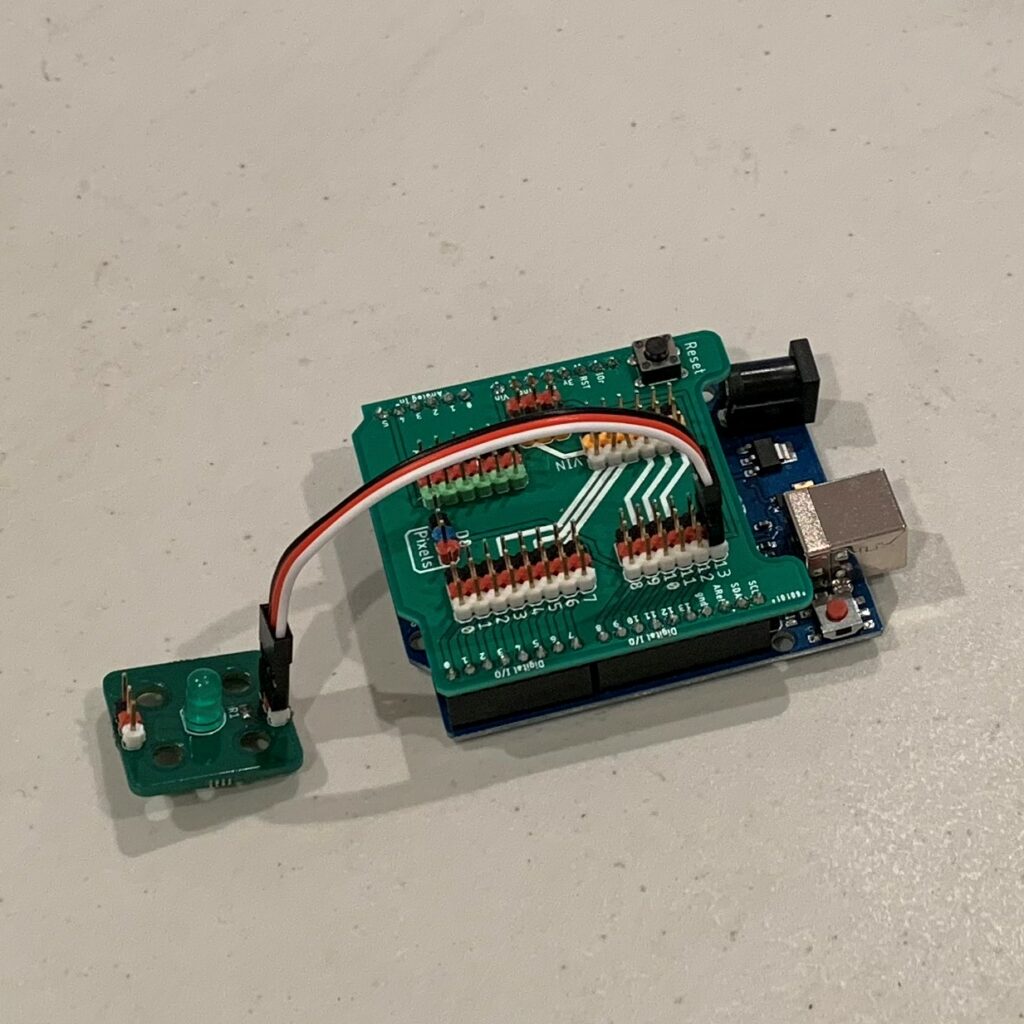
DenScript LED Module Connected to the DenScript Arduino Uno Shield and Arduino with the DenScript Digital Wire 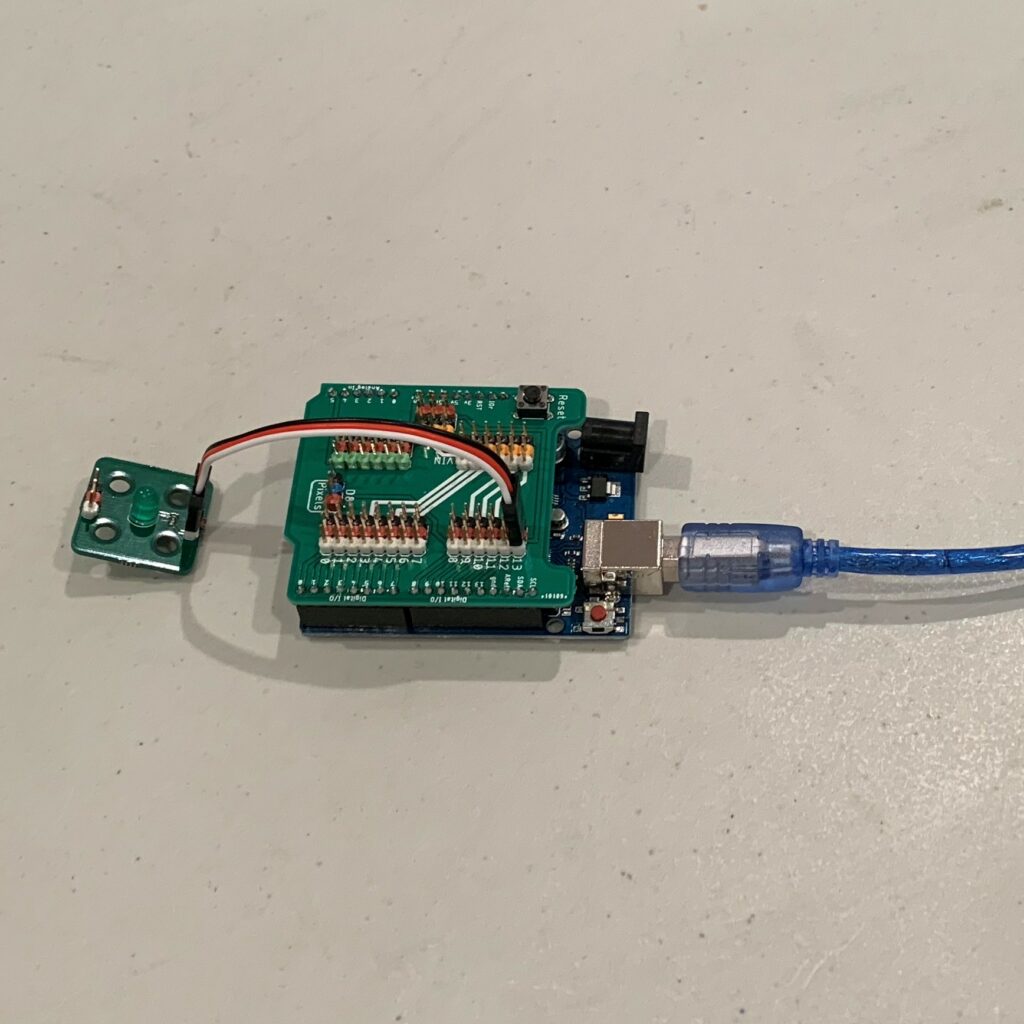
Arduino Connected to the computer via USB
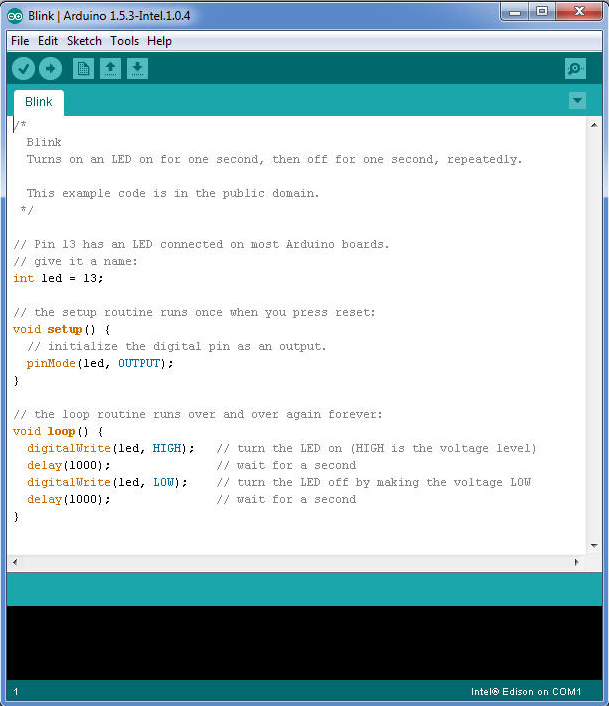
Programming:
Next, upload this code to your Arduino.
This code will cause the LED to toggle its state once a second.
Lets go through this code one bit at a time.
‘ int led = 13 ‘: will assign the integer value of 13 to the variable ‘led’.
In the ‘setup()’ function, we set the led pin to the output state.
Finally, in the ‘loop()’ function, we set the led pin HIGH (which means on), delay by 1000 milliseconds (1 second), set the led pin LOW (which means off), and then delay another 1000 milliseconds. As this all happens in the ‘loop()’ function, it repeats indefinitely.