DenScript Uno
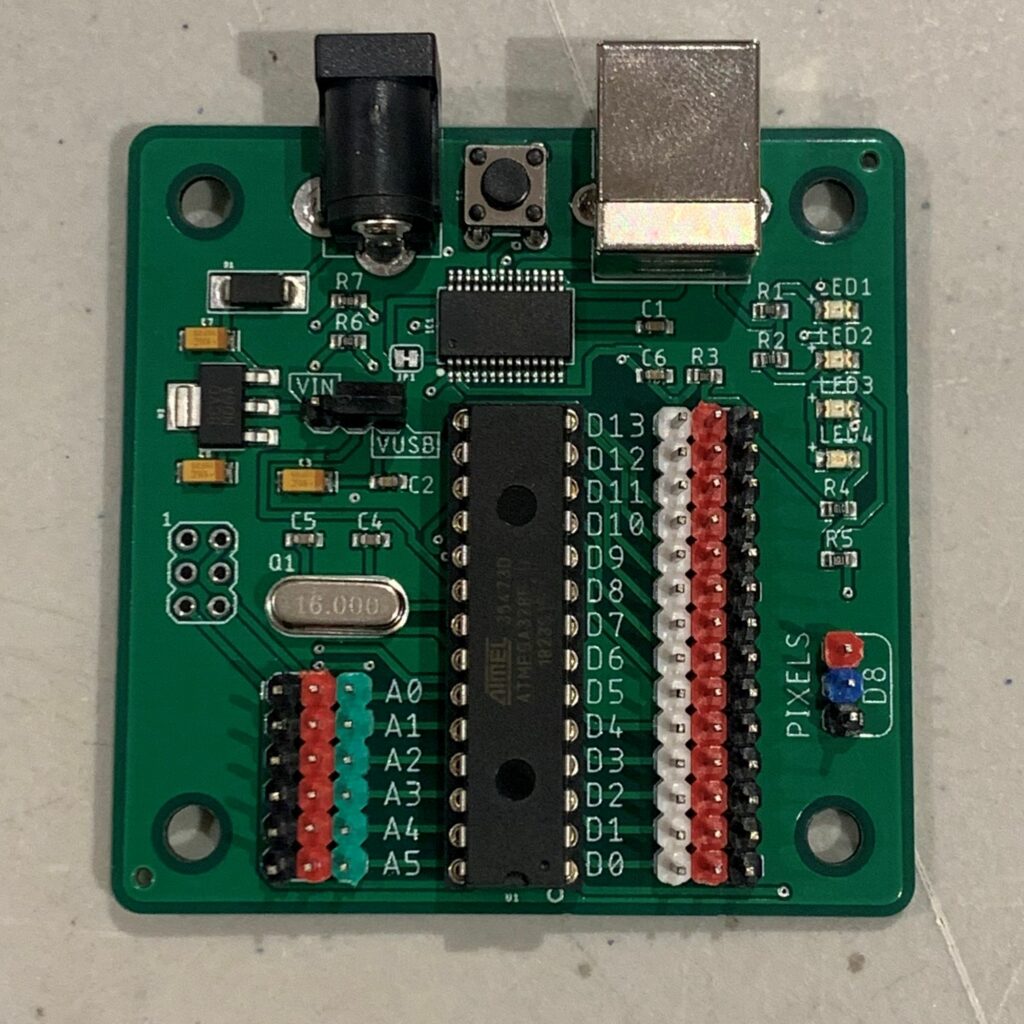
Starting off we have the brain of the kit, the DenScript Uno. This has fourteen digital ports and six analogue ports (that might not mean much now, but it will soon!). There are four LEDs on the board. LED1 and LED2 are connected to the FTDI chip, which is the smaller computer chip that allows us to send programs from the computer to the DenScript Uno. LED3 is a power LED, and LED4 is connected to Digital Pin 13. There is a power select jumper, which allows us to decide if we want to supply power via the USB port or the power jack. We are going to leave this set to the USB port.
Modules
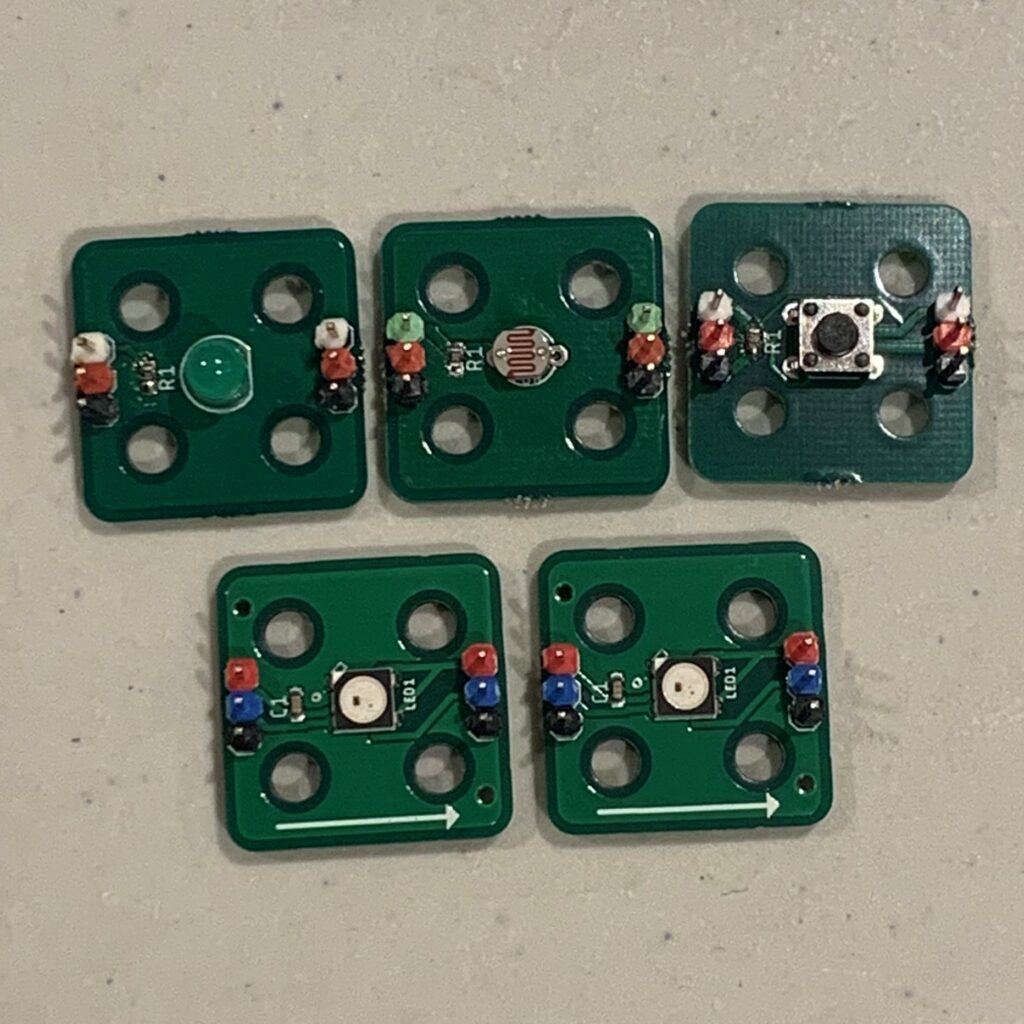
Next up we have the modules! The DenScript Uno Kit provides you with a great selection of modules to get you started! We have one LED Module, which could be of any colour LED, one Tactile Switch Module (the one with the button), one Light Dependant Resistor (LDR) Module and two Pixel Modules!
If you got one of our special edition kits, you may have an additional module. This will vary, so be sure to check the individual modules tutorials.
There are also some wires in the DenScript Uno Kit. We will talk about these as and when we use them.